There’s something uniquely satisfying about making your own ice cream at home. The creamy texture, the customizable flavors, and the pure joy of creating a frozen treat with your own hands is an experience worth savoring. The best part? You don’t even need an ice cream maker. In this comprehensive guide, we’ll explore the secrets to making rich, delicious ice cream using simple ingredients and tools you likely already have in your kitchen.
Why Make Ice Cream at Home?
Homemade ice cream offers several benefits:
- Customization: You control the flavors, textures, and ingredients.
- Quality Ingredients: No preservatives or artificial flavors.
- Fun Activity: Great for families, kids, and anyone who enjoys kitchen experiments.
- Cost-Effective: Cheaper than buying premium ice cream from stores.
Additionally, making ice cream at home fosters creativity. You’re not limited to store-bought flavors and can easily create combinations like lavender honey, spicy mango, or peanut butter banana fudge. It also makes for a great group activity during parties, allowing everyone to build their personalized frozen creations.
Key Ingredients for No-Churn Ice Cream
You only need a few basic ingredients:
- Heavy Whipping Cream: Provides the rich and creamy texture.
- Sweetened Condensed Milk: Adds sweetness and smoothness.
- Vanilla Extract: Enhances flavor. You can also use other extracts like almond or peppermint.
Optional ingredients include:
- Chocolate chips, fruit purees, cookie crumbles, nuts, caramel, and more.
When choosing ingredients, consider the quality. Organic cream and real vanilla extract can make a noticeable difference. The better your base, the better your final product.
Essential Tools You’ll Need
Even without an ice cream maker, you can still create amazing results with basic kitchen tools:
- Mixing Bowls: For combining ingredients.
- Electric Mixer or Hand Whisk: Whipping cream is easier with a mixer.
- Spatula: To fold ingredients gently.
- Freezer-Safe Container: Use a loaf pan, glass container, or plastic tub.
- Plastic Wrap or Lid: To cover the surface and prevent ice crystals.
If you’re planning to make ice cream regularly, consider investing in a silicone lid or specialized ice cream containers for better storage and scoopability.
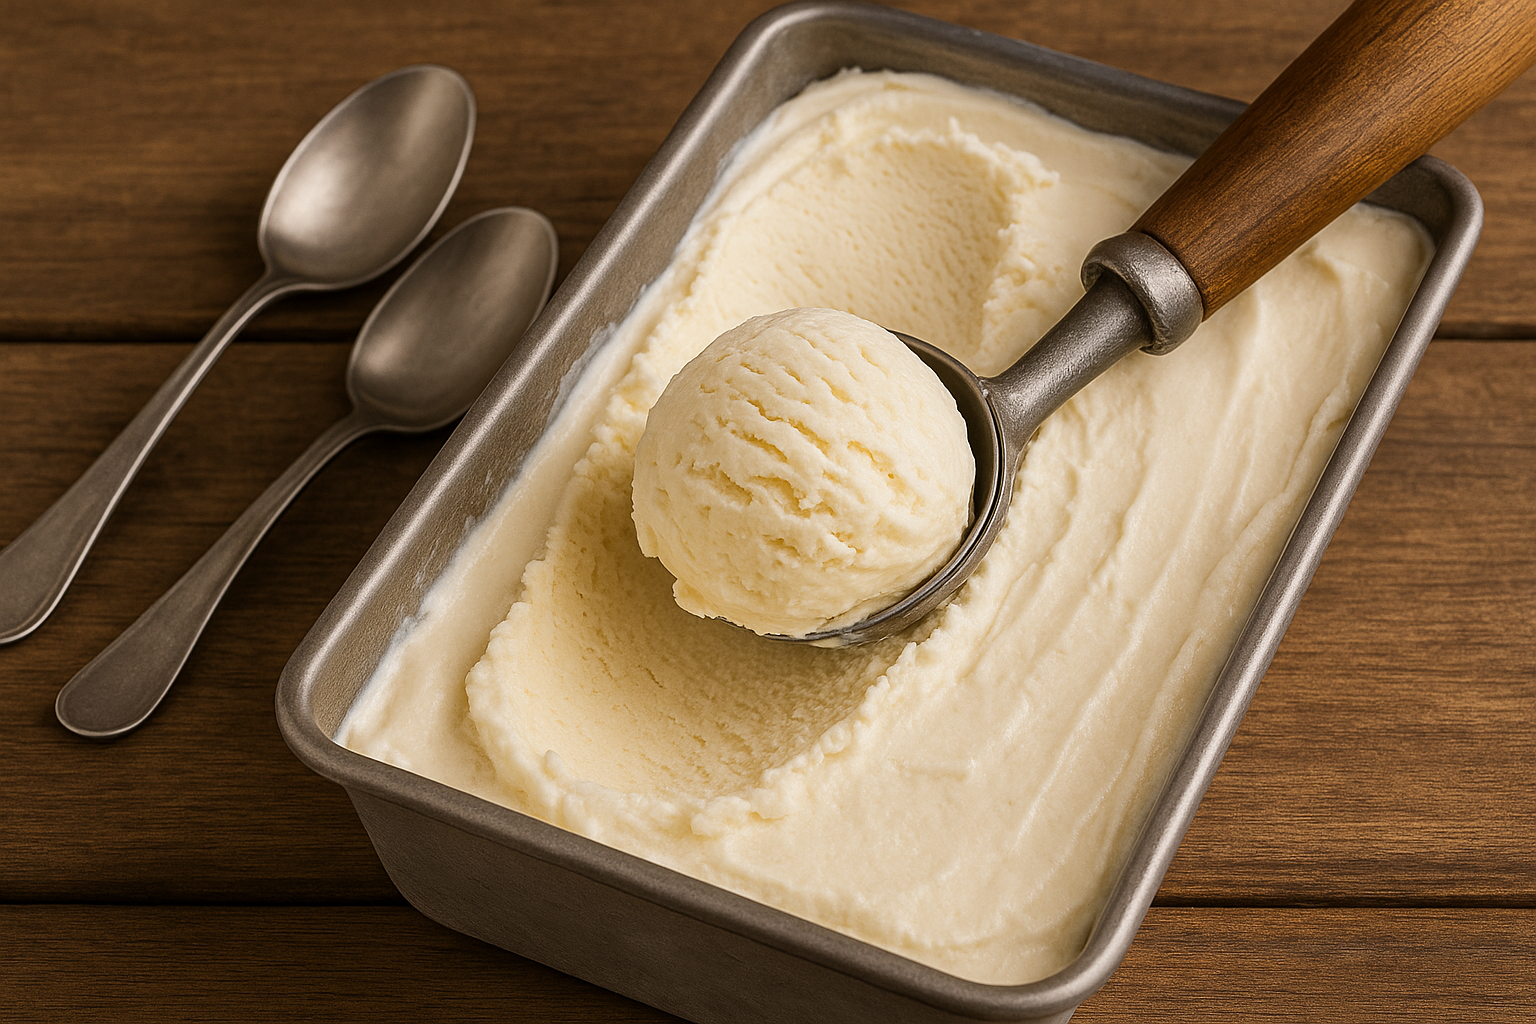
The Basic No-Churn Ice Cream Method
Step 1: Whip the Cream
Use a mixer or whisk to beat the heavy cream until stiff peaks form. This gives your ice cream its airy and fluffy texture. The cream should hold its shape but still appear soft and smooth.
Step 2: Fold in Sweetened Condensed Milk
Gently fold the sweetened condensed milk into the whipped cream using a spatula. Don’t stir aggressively—maintain the whipped texture. This creates the luscious base for your ice cream.
Step 3: Add Flavorings and Mix-Ins
Add vanilla extract or other flavorings. Fold in your favorite mix-ins like chopped cookies, nuts, or fruit. Layering swirls of sauces like fudge or caramel also adds a visual and flavorful punch.
Step 4: Freeze
Transfer the mixture to your freezer-safe container. Smooth the top with a spatula and cover with plastic wrap or a lid. Freeze for at least 6 hours, preferably overnight. The longer the freeze, the more stable and scoopable the texture.
Flavor Variations to Try
Get creative with your ice cream flavors:
- Chocolate Swirl: Add cocoa powder or melted chocolate.
- Strawberry Delight: Fold in mashed fresh strawberries or strawberry jam.
- Cookies and Cream: Mix in crushed chocolate sandwich cookies.
- Mint Chocolate Chip: Use peppermint extract and chocolate chips.
- Salted Caramel: Swirl in homemade or store-bought caramel sauce.
- Tiramisu: Add coffee-soaked ladyfingers and a dusting of cocoa powder.
- Lemon Blueberry: Add lemon zest and fresh or frozen blueberries.
Try seasonal flavors as well. In summer, go for tropical mixes like coconut-pineapple, while in winter, options like cinnamon-apple or gingerbread can be a hit.
Tips for Creamier Texture
- Use Cold Ingredients: Ensure cream and condensed milk are well-chilled.
- Don’t Overmix: Overmixing can deflate the whipped cream.
- Store Properly: Keep ice cream covered to avoid freezer burn.
- Use Full-Fat Ingredients: Low-fat products can lead to icy results.
For extra creaminess, you can add a small amount of alcohol like vodka or rum (about 1 tablespoon). It lowers the freezing point, keeping the texture soft and scoopable.
Healthier Alternatives
Looking for a healthier version? Try these substitutions:
- Use coconut cream instead of heavy cream.
- Substitute condensed milk with sweetened yogurt or mashed bananas.
- Add natural sweeteners like honey or maple syrup.
You can also experiment with plant-based milks and creams. Almond, oat, or cashew milk can create surprisingly rich results, especially when paired with nut butters or avocados for creaminess.
Common Mistakes to Avoid
- Not Whipping the Cream Enough: This leads to a dense texture.
- Overmixing: Deflates the mixture, making it icy.
- Freezing Too Short: Less than 6 hours may result in a slushy consistency.
- Using Warm Containers: Always freeze in chilled or room temperature containers.
It’s also important not to overload with mix-ins. Too many chunks can disrupt the creamy consistency and make scooping difficult.
Serving Suggestions
Serve your homemade ice cream with:
- Fresh fruit
- Chocolate sauce
- Sprinkles
- Waffle cones or bowls
- Crushed cookies or nuts
For an elegant presentation, serve in chilled glass bowls with a fresh mint leaf or edible flowers. You can also pair your ice cream with warm desserts like brownies, pies, or cookies for a decadent treat.
Making Ice Cream Fun for Everyone
Turn ice cream making into a fun activity:
- Let kids choose their own mix-ins.
- Have a themed ice cream night.
- Host a sundae bar with various toppings.
Get the whole family involved in the process. Younger kids can help mix ingredients or decorate their scoops, while older ones can experiment with creating new flavor combinations.
Storing Homemade Ice Cream
- Store in an airtight container.
- Place a piece of wax paper or plastic wrap on the surface before sealing.
- Consume within two weeks for best flavor and texture.
Label your containers with the flavor and date. Avoid storing in the door of the freezer where temperature fluctuations are more common.
Your Homemade Frozen Delight Awaits
Making ice cream without a machine is not only possible—it’s easy and enjoyable. With the right technique and ingredients, you can craft creamy, dreamy ice cream right in your kitchen. Whether it’s a classic vanilla or an adventurous flavor creation, your homemade frozen delight is sure to impress.
Now that you know the secrets, it’s time to stock your pantry, prep your tools, and get churning—no machine required. Happy scooping!
Stay tuned for more delicious DIY dessert ideas!