Whipped cream is a simple yet luxurious topping that elevates a wide range of desserts, from fresh fruit and hot chocolate to cakes, pies, mousses, trifles, and more. While it may seem like a straightforward recipe, creating perfectly airy, smooth, and stable whipped cream takes a bit of finesse. This comprehensive guide will walk you through everything from selecting the right ingredients to advanced techniques for flavoring and stabilizing your whipped cream.
Why Make Whipped Cream at Home?
Homemade whipped cream delivers a superior flavor, texture, and freshness compared to canned or store-bought versions. Here’s why many home cooks and professionals prefer making it from scratch:
- Fresh Flavor: Free from preservatives and artificial aftertastes.
- Custom Sweetness: You control how sweet—or unsweet—it is.
- Versatility: Perfect for cakes, beverages, fresh fruit, mousses, and even savory dishes.
- Impressive Presentation: Adds a gourmet touch that elevates the visual appeal of any dessert.
- Healthier Choices: Avoid added stabilizers or chemicals by using natural ingredients.
Key Ingredients
At its core, whipped cream consists of just a few ingredients:
- Heavy Cream: Also called heavy whipping cream, this should have at least 36% fat content.
- Sweetener: Powdered sugar blends more smoothly, while granulated sugar offers texture.
- Flavoring (optional): Vanilla extract is the classic, but other options include almond, citrus zest, or liqueurs.
Suggested Ratios
- 1 cup heavy cream
- 2–3 tablespoons powdered sugar
- 1 teaspoon vanilla extract
Recommended Equipment
To make the process seamless and effective, you’ll need:
- Chilled metal or glass mixing bowl
- Balloon whisk, hand mixer, or stand mixer
- Rubber spatula (for folding or scraping)
- Piping bag with decorative tips (for elegant presentation)
Preparation: Step-by-Step
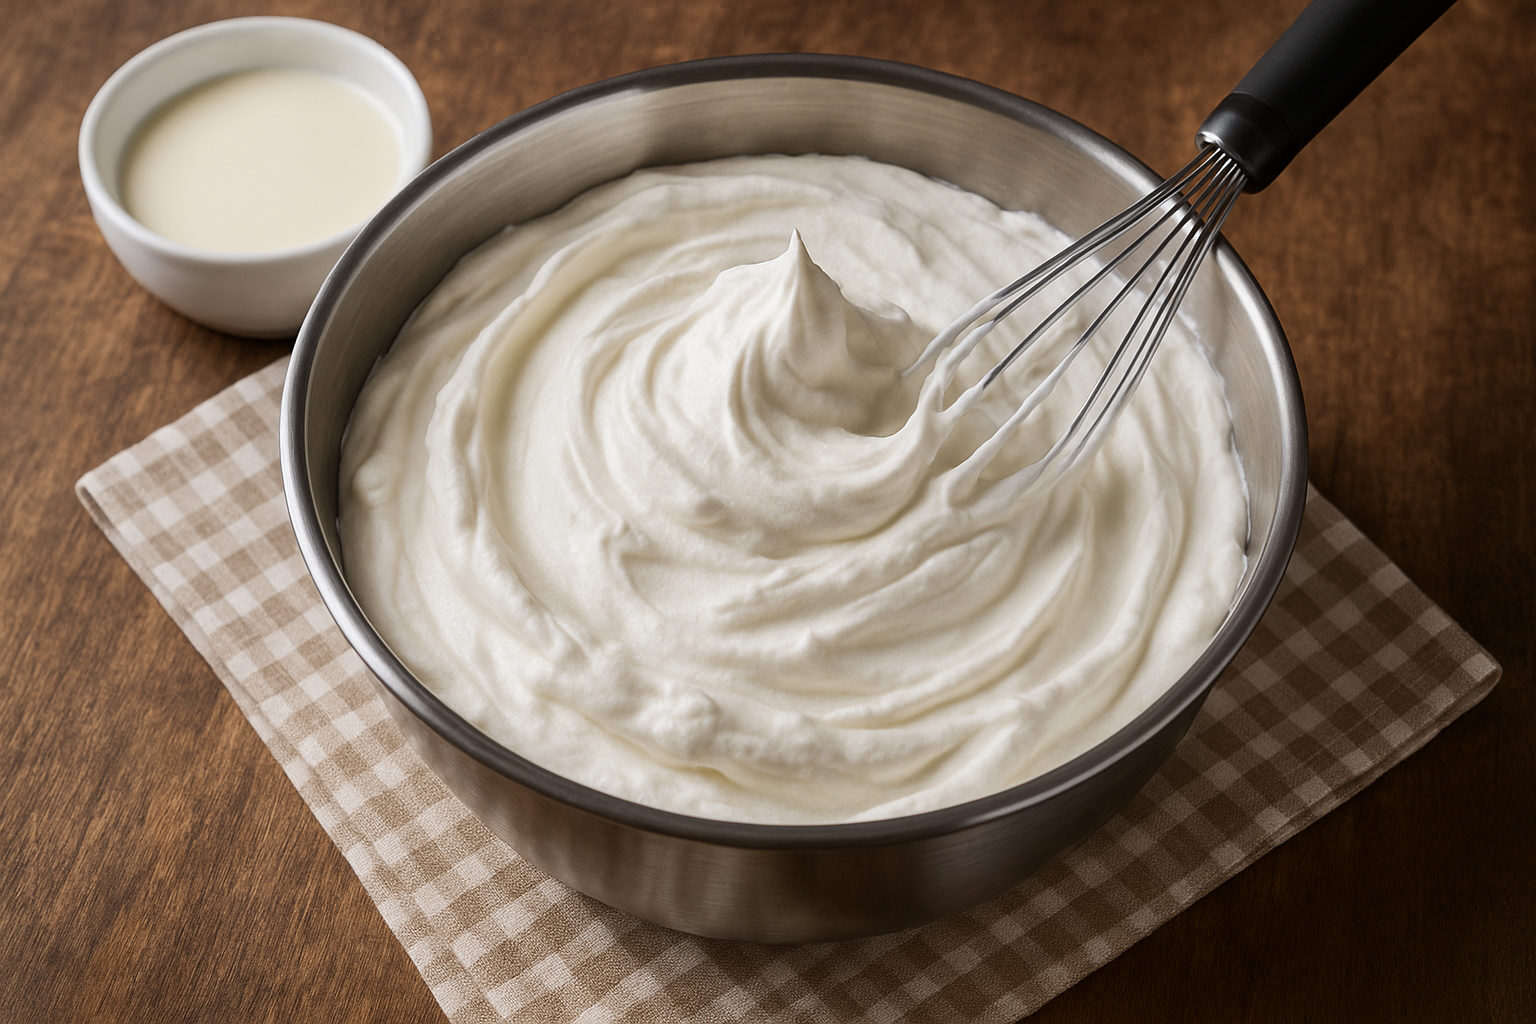
Step 1: Chill Everything
Whip faster and hold peaks better by chilling your bowl, beaters, and cream. A quick 10-15 minutes in the freezer works wonders.
Step 2: Combine Ingredients
Pour the cold cream into your chilled bowl. Add sugar and vanilla extract.
Step 3: Begin Whipping
Start at low speed to avoid splashing. Once the mixture thickens, increase to medium or high speed. Monitor the consistency closely.
Step 4: Watch the Peaks
Whip to the desired consistency:
- Soft Peaks: Light and fluffy, folds over slightly. Best for folding into batters.
- Medium Peaks: Slightly firmer, holds shape but still smooth. Ideal for topping desserts.
- Stiff Peaks: Very firm, holds sharp tips. Perfect for piping.
Avoid over-whipping, which causes separation and graininess.
Common Variations and Flavors
Stabilized Whipped Cream
For longer-lasting whipped cream:
- Gelatin: Dissolve 1 tsp of unflavored gelatin in 2 tbsp water. Let it bloom, then gently heat until melted. Cool slightly, then drizzle into cream while whipping.
- Cornstarch: Use 1 tbsp cornstarch per cup of cream.
- Pudding Mix: A spoonful of instant vanilla pudding helps stabilize and adds flavor.
Flavored Variants
- Chocolate: Mix in 2–3 tbsp cocoa powder with sugar.
- Citrus: Add 1 tsp of zest (lemon, orange, or lime).
- Spiced: Add cinnamon, nutmeg, or pumpkin spice.
- Liqueur Infused: Amaretto, Grand Marnier, or Irish cream can enhance flavor—just 1 tbsp.
Low-Sugar/Keto Versions
- Replace sugar with erythritol, monk fruit, or stevia.
- Use vanilla bean paste for richness.
Creative Ways to Use Whipped Cream
1. Cakes and Cupcakes
Pipe rosettes, swirls, or borders. Layer inside sponge cakes or use as frosting.
2. Beverages
Top off:
- Hot cocoa
- Coffee
- Milkshakes
- Floats
3. Fresh Fruit and Berries
Pair with strawberries, blueberries, or a fruit salad.
4. Pastries and Pies
Spoon onto pumpkin pie, key lime pie, or tarts.
5. Breakfast Delights
Serve on waffles, pancakes, or crepes with fruit compote.
Presentation and Serving Ideas
- Use a star piping tip for elegant swirls.
- Dust with cocoa or cinnamon.
- Garnish with chocolate shavings, berries, or edible flowers.
- Color your cream with a drop of food coloring for themed desserts.
Storage and Make-Ahead Options
Whipped cream is best used within a few hours, but with stabilization can last up to:
- 3 days in the fridge in a sealed container.
- Piped decorations: Can be frozen and hold shape when thawed.
Re-whip briefly if it begins to deflate.
Troubleshooting Common Issues
- Not Whipping? Check cream fat content—must be at least 36%. Also, ensure everything is cold.
- Turns to Butter? Over-whipped. Add a few tablespoons of fresh cream and gently fold.
- Watery/Flat Cream? Likely under-whipped or cream was too warm.
Expert Tips for Best Results
- Always start with cold equipment and ingredients.
- Use powdered sugar to prevent grittiness.
- Avoid plastic bowls that retain grease.
- Do not overbeat—check often after medium peaks form.
- Add flavorings after soft peaks form to avoid deflation.
Whipped Cream Beyond Dessert
This versatile topping also has savory applications:
- Herb whipped cream for soups
- Horseradish cream for beef dishes
- Chive and garlic cream for baked potatoes
Conclusion: Whipping Up Success
Homemade whipped cream transforms even the simplest dessert into a culinary masterpiece. Whether used as a topping, a filling, or part of the main presentation, its versatility, ease of preparation, and irresistible texture make it a staple for every kitchen. By mastering the basics and experimenting with flavors and techniques, you’ll elevate every dessert you create.
So the next time you’re planning a dessert—or just craving something special—reach for your whisk and whip up a batch of perfect homemade whipped cream. Your taste buds will thank you!