Cakes in a jar have become a trendy and convenient way to enjoy dessert. Not only are they adorable and easy to make, but they are also a practical option for gift-giving, party favors, or selling at markets. These portable, individual servings allow you to get creative with flavor combinations, fillings, and toppings, making them an ideal treat for any occasion. The best part? Cakes in a jar are incredibly versatile and can be customized to suit any theme or preference.
In this article, we’ll walk you through a basic cake-in-a-jar recipe, along with tips and techniques for assembling and decorating these sweet creations. Whether you’re making them for a special event or just as a fun baking project, you’ll learn how to create cakes that are not only delicious but also visually appealing.
Why Cakes in a Jar?
Before diving into the recipe, let’s explore the reasons why cakes in a jar are such a popular dessert:
- Convenience: Cakes in a jar are individually portioned, making them easy to serve and perfect for parties, picnics, or as take-home gifts.
- Portability: The jars seal tightly, keeping the cakes fresh and preventing any mess during transport. They’re perfect for weddings, parties, or any event where you want to serve dessert on the go.
- Customizable: You can create endless flavor combinations and decorate the jars with colorful layers, icing, and fresh fruits to match any occasion.
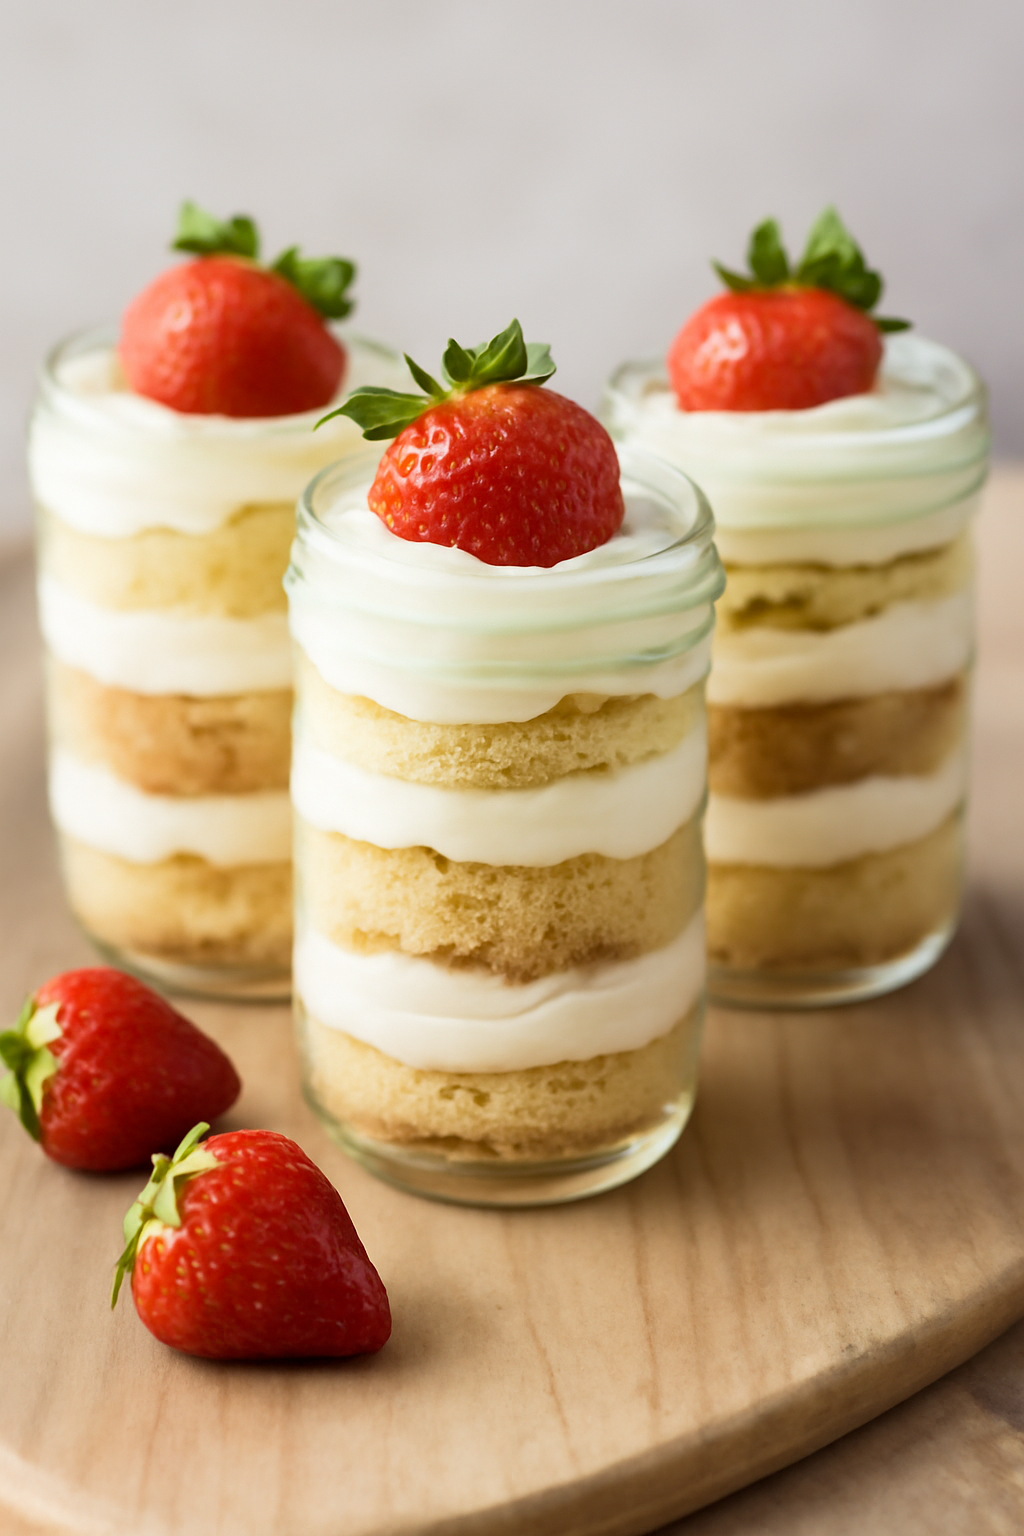
- Eye-Catching: The layered presentation in a clear jar is visually stunning, making them not only delicious but also a great addition to any event or gift.
- No Need for Refrigeration: Cakes in a jar are typically stable at room temperature for several days, making them a low-maintenance treat.
Basic Cake-in-a-Jar Recipe
Now, let’s start with the base recipe for making the cake itself. You can make any flavor of cake, but for this guide, we’ll focus on a simple vanilla sponge cake that pairs well with almost any filling and topping.
Ingredients for the Vanilla Sponge Cake
- 1 cup (240g) all-purpose flour
- 1 cup (200g) granulated sugar
- 1/2 cup (120g) unsalted butter, softened
- 2 large eggs
- 1/2 cup (120ml) milk
- 2 tsp vanilla extract
- 1 1/2 tsp baking powder
- 1/4 tsp salt
Instructions for the Cake
- Preheat the Oven: Preheat your oven to 350°F (175°C). Grease and flour an 8-inch round cake pan, or line it with parchment paper.
- Mix Dry Ingredients: In a medium bowl, sift together the flour, baking powder, and salt. Set aside.
- Cream Butter and Sugar: In a large bowl, beat the softened butter and sugar together using an electric mixer until the mixture is light and fluffy (about 3 minutes).
- Add Eggs and Vanilla: Add the eggs, one at a time, beating well after each addition. Stir in the vanilla extract.
- Combine Wet and Dry Ingredients: Add the dry ingredients to the butter mixture alternately with the milk, starting and ending with the dry ingredients. Mix until just combined. Do not overmix.
- Bake: Pour the batter into the prepared cake pan and smooth the top. Bake for 25-30 minutes or until a toothpick inserted into the center of the cake comes out clean. Allow the cake to cool completely on a wire rack.
- Cut Into Pieces: Once the cake has cooled, cut it into small cubes or slices, depending on the size of your jars. You can also crumble the cake for a more rustic, layered presentation.
Filling and Topping Ideas for Cakes in a Jar
The beauty of cakes in a jar is in their customization. You can layer the cake with a variety of fillings, frostings, or whipped creams, and top them with fresh fruits, candies, or sprinkles. Here are some ideas for fillings and toppings:
1. Whipped Cream Filling
Whipped cream is a light and fluffy filling that complements the cake’s texture perfectly.
Ingredients:
- 1 cup heavy whipping cream
- 1/4 cup powdered sugar
- 1 tsp vanilla extract
Instructions:
- Whip the heavy cream with the powdered sugar and vanilla extract until stiff peaks form. This can be piped easily into the jars as a filling between layers of cake.
2. Fruit Filling
Fresh fruit or fruit compotes add a juicy and tangy layer to your cakes in a jar. Popular fruit fillings include strawberry, blueberry, raspberry, and lemon curd.
Instructions:
- For fruit compote, simmer fresh or frozen fruit with a little sugar and lemon juice until it thickens into a syrupy consistency.
- Layer the compote with the cake for a refreshing bite.
3. Chocolate Ganache
For a rich and decadent touch, you can use chocolate ganache as a filling or topping.
Ingredients:
- 200g dark chocolate
- 200ml heavy cream
Instructions:
- Heat the heavy cream in a saucepan until it begins to steam.
- Pour it over the chopped chocolate, stir until smooth, and let it cool slightly before layering it with the cake.
4. Buttercream Frosting
Buttercream is perfect for adding smooth and sweet layers to your cake. You can flavor the buttercream with vanilla, chocolate, or any other flavor you desire.
Ingredients:
- 1 cup unsalted butter, softened
- 3-4 cups powdered sugar
- 1 tsp vanilla extract
- 2-3 tbsp heavy cream
Instructions:
- Beat the butter until smooth, then gradually add the powdered sugar.
- Mix in the vanilla extract and heavy cream to achieve a smooth, creamy consistency.
5. Coconut Cream
Coconut cream is a creamy and tropical option that pairs wonderfully with vanilla cake.
Instructions:
- Whip coconut cream with a little powdered sugar and vanilla extract to create a thick, fluffy filling.
- Layer it with the cake and top with toasted coconut for added texture.
How to Assemble Cakes in a Jar
Now that you’ve made the cake and prepared your fillings, it’s time to assemble the cakes in a jar. Here’s how to do it:
Step 1: Choose Your Jars
Select small, wide-mouth mason jars or any other clear jars you have on hand. The jars should be about 8 oz in size to hold a good portion of cake and filling. Clean the jars thoroughly before use.
Step 2: Layer the Cake
Start by placing a small amount of cake at the bottom of each jar. Press it gently to compact it slightly. This will serve as the first layer of your cake.
Step 3: Add Filling or Frosting
After the first cake layer, add your chosen filling or frosting. Use a spoon or piping bag to spread it evenly on top of the cake.
Step 4: Repeat the Layers
Continue layering the cake, filling, and frosting until the jar is filled. Depending on the size of your jar, you can create two to three layers of cake and filling.
Step 5: Top with Toppings
Finish off the jar with a final layer of frosting or whipped cream, and then top with fresh fruit, sprinkles, or any other decorative toppings of your choice.
Step 6: Seal and Store
Once your jars are filled, place the lids on tightly and store them in the fridge until you’re ready to serve. Cakes in a jar can last up to 3-4 days when refrigerated, making them perfect for prepping in advance.
Tips for Perfect Cakes in a Jar
- Don’t Overfill: Be careful not to overfill the jars with cake and filling. Leave about half an inch of space at the top for easy closure.
- Use Fresh Ingredients: Using fresh fruit and high-quality frosting will enhance the flavor and texture of the cakes.
- Consider Texture: Try to balance moist cake with creamy fillings so that each spoonful is a perfect combination of flavors and textures.
- Personalize: Decorate the jars with ribbons, tags, or personalized labels to make them special for gifts or parties.
Conclusion
Cakes in a jar are a fun, easy, and versatile dessert that can be customized for any occasion. With a simple base recipe and endless filling and topping options, you can create stunning individual cakes that are not only delicious but also visually appealing. Whether you’re serving them at a party, selling them at a market, or gifting them to loved ones, cakes in a jar are a perfect choice for any event. So grab your jars, get creative with flavors, and start making these adorable and irresistible treats today!