Homemade bonbons are the epitome of elegance and indulgence. With their delicate chocolate shells and rich, flavorful fillings, bonbons can transform any occasion into something special. Making them at home might seem like a task for professional chocolatiers, but with the right techniques and a touch of creativity, you can produce artisanal-quality treats in your own kitchen. In this guide, you’ll learn the secrets to crafting perfect bonbons—from choosing the best ingredients to decorating like a pro.
What Are Bonbons?
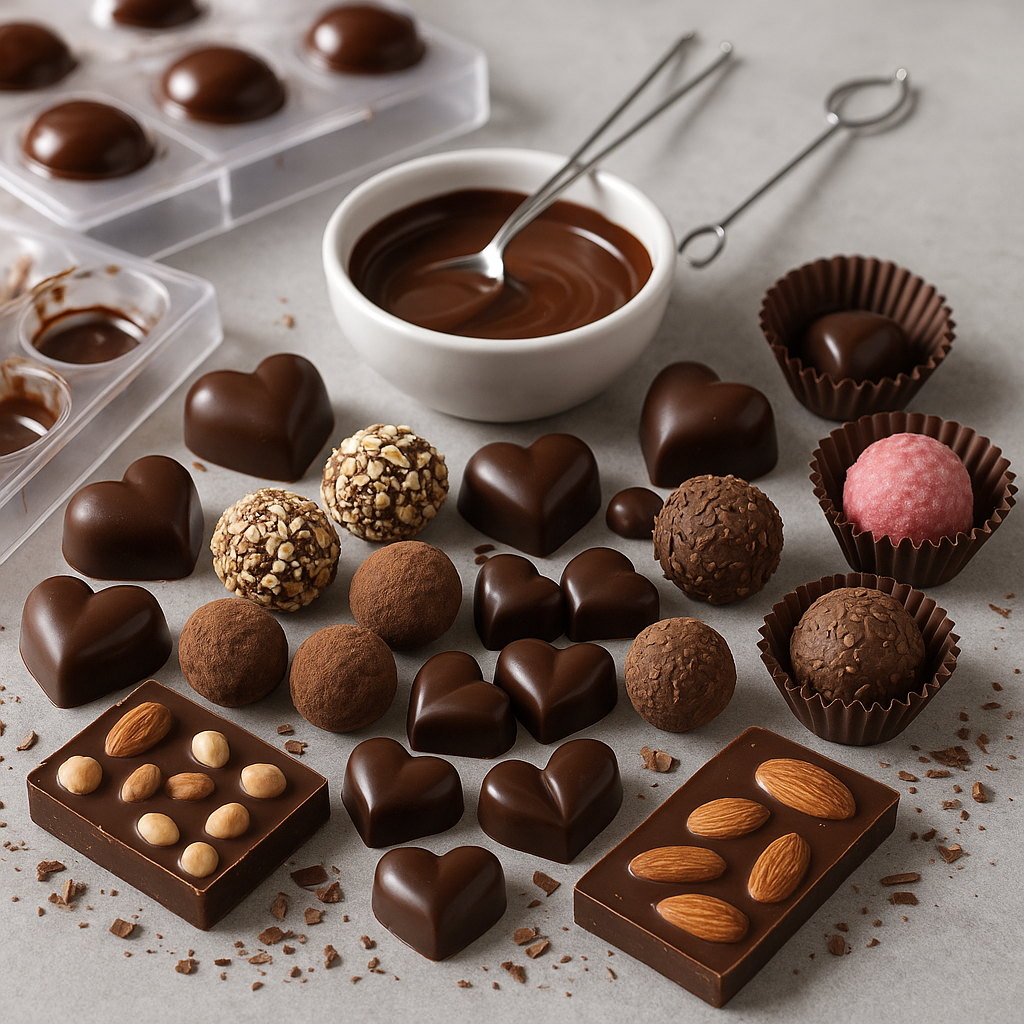
Bonbons are bite-sized confections typically made with a chocolate shell and a soft filling, which can range from ganache and caramel to fruit purees and nut pastes. Unlike truffles, bonbons usually have a glossy, hard chocolate coating and are often molded for uniformity and design.
The word “bonbon” originates from the French word for “candy,” and over the centuries, it has come to represent high-end chocolates often associated with luxury and celebration. These delightful morsels are popular gifts during holidays like Valentine’s Day, Christmas, and anniversaries, and they bring an artisanal flair to dessert tables at weddings and formal gatherings.
Essential Tools for Bonbon Making
To achieve professional results, you’ll need a few specialized tools:
- Polycarbonate or silicone bonbon molds
- Chocolate thermometer
- Small offset spatula
- Piping bags
- Scraper or bench knife
- Heat-proof bowls
- Pastry brush (optional for colored cocoa butter)
- Bench scraper or ruler (for clean shell sealing)
- Airbrush (for advanced decoration)
Using proper tools not only ensures a clean finish but also allows for efficiency, especially if you’re producing larger batches.
Choosing the Right Chocolate
High-quality couverture chocolate is essential for bonbon making. Couverture chocolate contains a higher percentage of cocoa butter, allowing for a smooth melt and a shiny finish. Always temper your chocolate to ensure it sets with a crisp snap and a glossy look.
Types of Chocolate to Use:
- Dark chocolate (70% cocoa or more): For bold, rich flavors.
- Milk chocolate: Creamy and sweet, great for softer pairings.
- White chocolate: Excellent for fruit and nut infusions.
Choosing chocolate from reputable brands ensures consistency in flavor and texture. Look for sustainably sourced cocoa and check the ingredient list for purity.
How to Temper Chocolate
Tempering chocolate stabilizes the cocoa butter crystals, resulting in a smooth, glossy finish. Here’s a simplified method:
- Melt 2/3 of your chocolate over a double boiler to 115°F (46°C) for dark, or 110°F (43°C) for milk/white.
- Remove from heat and add the remaining 1/3 of the chocolate to cool the mixture.
- Stir constantly until it reaches 88–90°F (31–32°C) for dark or 84–86°F (29–30°C) for milk/white.
- Use immediately.
You can also use the tabling method for a more traditional approach, or a seeding method for greater precision.
Creating Bonbon Shells
- Pour tempered chocolate into molds, ensuring full coverage.
- Tap to remove air bubbles.
- Invert mold to let excess chocolate drain.
- Scrape the surface clean and refrigerate to set.
To enhance shine, some chocolatiers preheat molds slightly or polish them with cotton before pouring chocolate.
Filling Ideas for Bonbons
The filling is where your creativity can shine. Here are some classic and gourmet options:
Ganache Fillings:
- Dark chocolate and espresso
- Milk chocolate and hazelnut praline
- White chocolate and raspberry puree
Fruit Fillings:
- Mango-passion fruit curd
- Strawberry compote
- Orange marmalade with cardamom
Nut-Based Fillings:
- Almond paste
- Pistachio cream
- Peanut butter caramel
Boozy Options:
- Whiskey ganache
- Rum-soaked raisin paste
- Liqueur-infused cream fillings
Seasonal Inspirations:
- Pumpkin spice with nutmeg
- Mulled wine reduction
- Mint chocolate with crushed candy cane
Each filling can be customized further with spices, essences, or crunchy inclusions.
Assembling and Sealing Bonbons
- Once the shells are set, pipe in the filling, leaving space for sealing.
- Let the filling set for a few hours or refrigerate briefly.
- Cover with a layer of tempered chocolate.
- Scrape off excess chocolate for a clean finish.
- Chill the mold until the bonbons release easily.
Patience during each step is key to avoiding smudges, leaks, or breakage.
Decorating Like a Pro
- Colored Cocoa Butter: Paint or splatter inside molds before pouring chocolate.
- Transfer Sheets: Add patterns or logos to your bonbons.
- Gold Leaf and Edible Glitter: For a luxurious touch.
- Textured Finishes: Use special tools or brushes for added elegance.
- Airbrushing: Apply ombré or gradient effects.
- Stenciling: Create uniform patterns for branding or thematic events.
Packaging and Gifting Ideas
- Use truffle boxes with dividers for presentation.
- Line boxes with tissue paper or colored foil.
- Add handwritten tags or labels.
- Wrap individual bonbons for party favors.
- Pair bonbons with a wine bottle or coffee sampler.
Customized packaging adds emotional value and enhances gifting appeal.
Tips for Success
- Always work in a cool, dry environment.
- Avoid introducing moisture into the chocolate.
- Keep fillings smooth and pipeable.
- Store finished bonbons in a cool, dry place.
- Use fresh ingredients and avoid overfilling.
- Work in small batches to maintain quality control.
Storage and Shelf Life
- Store in a cool, dry place—not the fridge.
- Shelf life depends on filling: ganache-based bonbons last about 2 weeks; those with preserves or caramel can last longer.
- Keep away from direct sunlight and strong odors.
- Use vacuum sealing for commercial batches.
Proper labeling of batch dates ensures food safety and optimal freshness.
Fun Variations and Flavor Pairings
- Salted caramel with dark chocolate
- Matcha white chocolate with red bean paste
- Lavender ganache with milk chocolate
- Chili-infused chocolate with cinnamon cream
- Lemon basil with white chocolate
- Balsamic strawberry reduction with dark chocolate
Unusual combinations like rosemary and orange or thyme and honey can set your creations apart.
Hosting a Bonbon-Making Party
Invite friends or family to a bonbon workshop at home:
- Prepare stations for melting, molding, and decorating.
- Provide gloves, aprons, and take-home boxes.
- Include taste-testing and a small competition.
This can be a delightful experience for birthdays, bridal showers, or seasonal celebrations.
Final Thoughts
Making bonbons at home may seem challenging, but with the right tools and techniques, you can create stunning and delicious confections that rival any professional. Whether for personal enjoyment or as elegant gifts, these tiny treats offer endless opportunities for experimentation and enjoyment.
So gather your ingredients, prep your molds, and get ready to impress. With patience, precision, and a passion for sweets, you’ll be crafting bonbons like a true confectioner in no time!
And who knows? You might just discover a new hobby—or even a future business opportunity—along the way!