Homemade jams are more than just spreads; they’re an expression of tradition, flavor, and the joy of preserving seasonal fruits. Crafting your own jam allows you to control the ingredients, experiment with flavor combinations, and create gifts that come from the heart. In this guide, we’ll cover everything you need to know to make perfect jams at home—from essential tools to tested recipes, decoration tips, and creative serving ideas.
Why Make Jam at Home?
Making jam at home offers numerous benefits:
- Better taste using ripe, seasonal fruits.
- No artificial preservatives—just natural goodness.
- Creative freedom with fruit and flavor combinations.
- Cost-effective compared to gourmet store-bought jars.
- Personalized gifts for holidays, parties, or any special occasion.
- Sustainable use of surplus produce during harvest seasons.
- Fun and rewarding kitchen activity to enjoy solo or with family.
Essential Tools and Ingredients
Before you begin, gather these tools:
- Large heavy-bottomed pot
- Wooden spoon or heat-resistant spatula
- Ladle
- Canning jars with lids
- Funnel (for clean pouring)
- Jar lifter or tongs
- Kitchen thermometer (optional but helpful)
- Clean cloths or paper towels
- Food processor or masher (for breaking down fruit)
Base Ingredients:
- Fresh fruit (cleaned and chopped)
- Sugar
- Lemon juice (for acidity and balance)
- Pectin (optional depending on fruit type and desired consistency)
Optional Add-ins:
- Herbs (basil, thyme, mint)
- Spices (cinnamon, nutmeg, ginger)
- Alcohols (rum, brandy, wine)
- Zests (lemon, orange, lime)
Basic Jam-Making Process
Step 1: Prepare the Fruit
Wash and chop your chosen fruit. For smoother texture, you can mash or blend the fruit. Stone fruits should be peeled and pitted, while berries can typically be used whole.
Step 2: Sterilize Your Jars
Boil jars and lids in water for at least 10 minutes. Carefully remove and place upside down on a clean towel to air dry completely. Do this just before filling to ensure the jars are still warm.
Step 3: Cook the Jam
Combine fruit, sugar, and lemon juice in your pot. Cook over medium-high heat, stirring frequently. If using pectin, follow package directions for adding it correctly. Bring the mixture to a rolling boil.
Step 4: Test for Doneness
To ensure the jam sets correctly, use the “wrinkle test.” Place a small amount of jam on a chilled plate and run your finger through it after a minute. If it wrinkles, it’s ready. Alternatively, check for 220°F (104°C) using a thermometer.
Step 5: Fill and Seal
Using a funnel, ladle hot jam into sterilized jars, leaving ¼ inch headspace. Wipe jar rims clean, place the lid on top, and screw on the band until fingertip-tight.
Step 6: Process the Jars
To ensure long shelf life, process jars in a boiling water bath for 10 minutes. Carefully remove and let cool on a towel. After 24 hours, check the seal by pressing the lid center. A sealed lid won’t bounce back.
Flavorful Jam Recipes
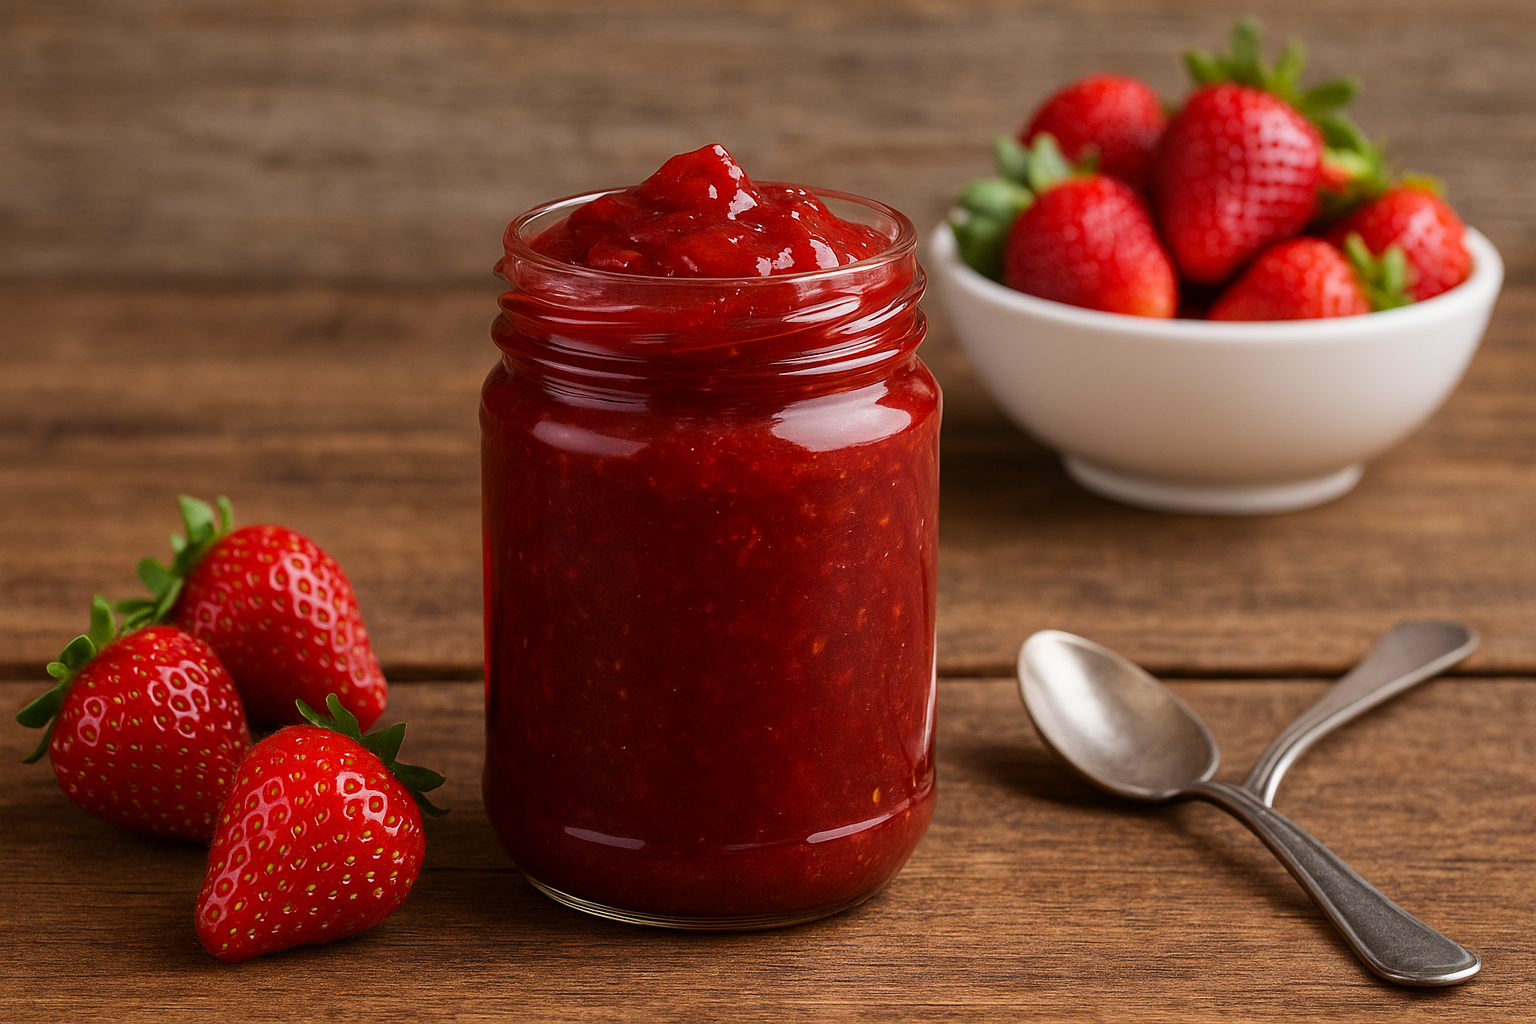
1. Classic Strawberry Jam
- 4 cups strawberries (mashed)
- 4 cups sugar
- 2 tablespoons lemon juice
Boil ingredients, stirring until thickened. Perform wrinkle test before jarring.
2. Blueberry Lemon Jam
- 4 cups blueberries
- 3 cups sugar
- 1 tablespoon lemon zest
- 2 tablespoons lemon juice
Cook until thick and aromatic. Skim foam if needed.
3. Peach Ginger Jam
- 4 cups chopped peaches (peeled)
- 3 cups sugar
- 1 tablespoon grated ginger
- 2 tablespoons lemon juice
Add ginger midway through cooking. Stir frequently to prevent sticking.
4. Raspberry Vanilla Jam
- 4 cups raspberries
- 3 ½ cups sugar
- 1 tablespoon vanilla extract
- 2 tablespoons lemon juice
Add vanilla just before filling jars for a fragrant finish.
5. Apple Cinnamon Jam
- 4 cups finely chopped apples
- 2 ½ cups sugar
- 1 teaspoon cinnamon
- 2 tablespoons lemon juice
Simmer until apples soften, mash lightly for smoother consistency.
6. Mango Pineapple Jam
- 2 cups mango
- 2 cups pineapple
- 3 cups sugar
- 2 tablespoons lime juice
Bright, tropical flavor perfect for summer breakfasts.
Creative Tips and Variations
- Mix fruits: Blend similar textures like plum-apricot or contrast with firm and soft fruits.
- Layer flavors: Try combining fruits with herbs (e.g., strawberry basil).
- Use alcohols: Rum with banana or brandy with fig adds sophistication.
- Add spice: Chili with mango or cinnamon with pear adds depth.
Unique Jam Uses
- Marinade base for pork or chicken.
- Filling for thumbprint cookies.
- Glaze for roasted vegetables.
- Swirl into homemade ice cream.
- Topping for waffles, pancakes, and French toast.
Gift Presentation Tips
- Use vintage-style jars for charm.
- Decorate lids with patterned fabric.
- Attach wooden spoons or spreaders.
- Create custom labels with flavor, ingredients, and date.
- Group with matching items like scones or bread.
Storing and Shelf Life
- Unopened jars: Store in a cool, dark pantry for up to 1 year.
- Opened jars: Refrigerate and consume within 2–3 weeks.
- Spoilage signs: Mold, fermentation smell, or bulging lid—discard immediately.
Troubleshooting Common Issues
- Runny jam: Try reboiling with added lemon juice or pectin.
- Overly thick: Stir in a splash of hot water to loosen.
- Too sweet: Mix with yogurt or use in savory dishes to balance.
- Foamy top: Skim off during cooking for clear jam.
Fun Facts About Jam
- The earliest recorded jam recipes date back to Roman times.
- In medieval Europe, jams were considered a luxury reserved for royalty.
- The word “jam” is derived from the French word “jambe,” meaning to press tightly.
- Jam Day is celebrated on June 1st worldwide.
A Tradition Worth Preserving
Making homemade jam is a blend of art and science, tradition and creativity. It’s a rewarding way to savor the flavors of the season and connect with culinary heritage. With a few basic tools and a little time, you can craft jars of sweetness that brighten breakfasts, desserts, and hearts.
So gather your fruits, roll up your sleeves, and start simmering. The art of jam-making awaits, and the results are always delicious and filled with love.